Button 按钮
例子#
设置文案#
export function App() {    return (        <Window>            <DemoLayout>                <Button text="Button"></Button>            </DemoLayout>        </Window>    );}
// boilerplate code: place control at the center of windowinterface IDemoLayoutProps {    children?: any[] | any;    width?: string;    height?: string;}
function DemoLayout(props: IDemoLayoutProps) {    const width = props?.width ?? '120dpx';    const height = props?.height ?? '32dpx';
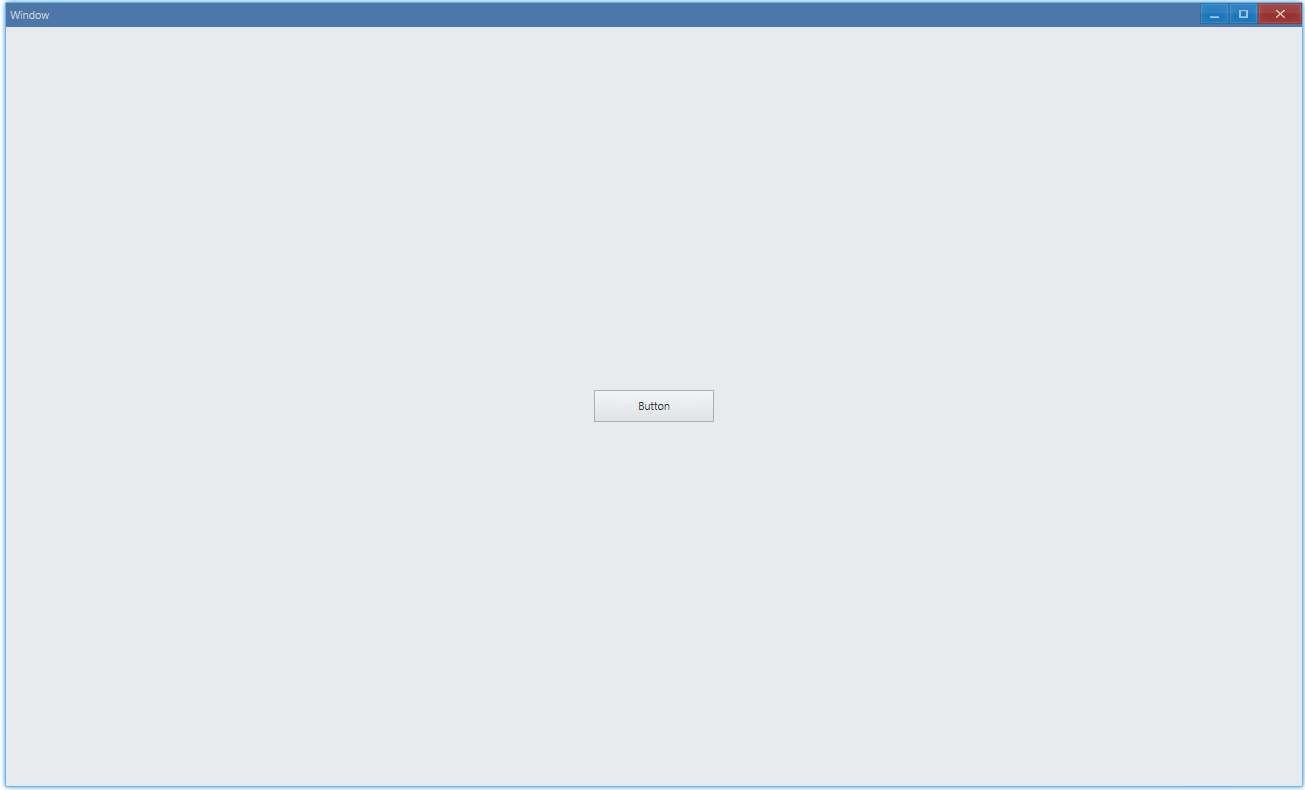
const demoLayout = { columns: `1 ${width} 1`, rows: `1 ${height} 1`, areas: { center: { row: 1, column: 1 }, }, }; return ( <Grid style={{ layout: demoLayout }}> <Grid style={{ area: demoLayout.areas.center }}> {props.children} </Grid> </Grid> );}我们使用text来设置按钮上的文案,运行之后:

API#
export interface IButtonComponentProps extends IComponentProps { text?: string; ...}设置文字颜色#
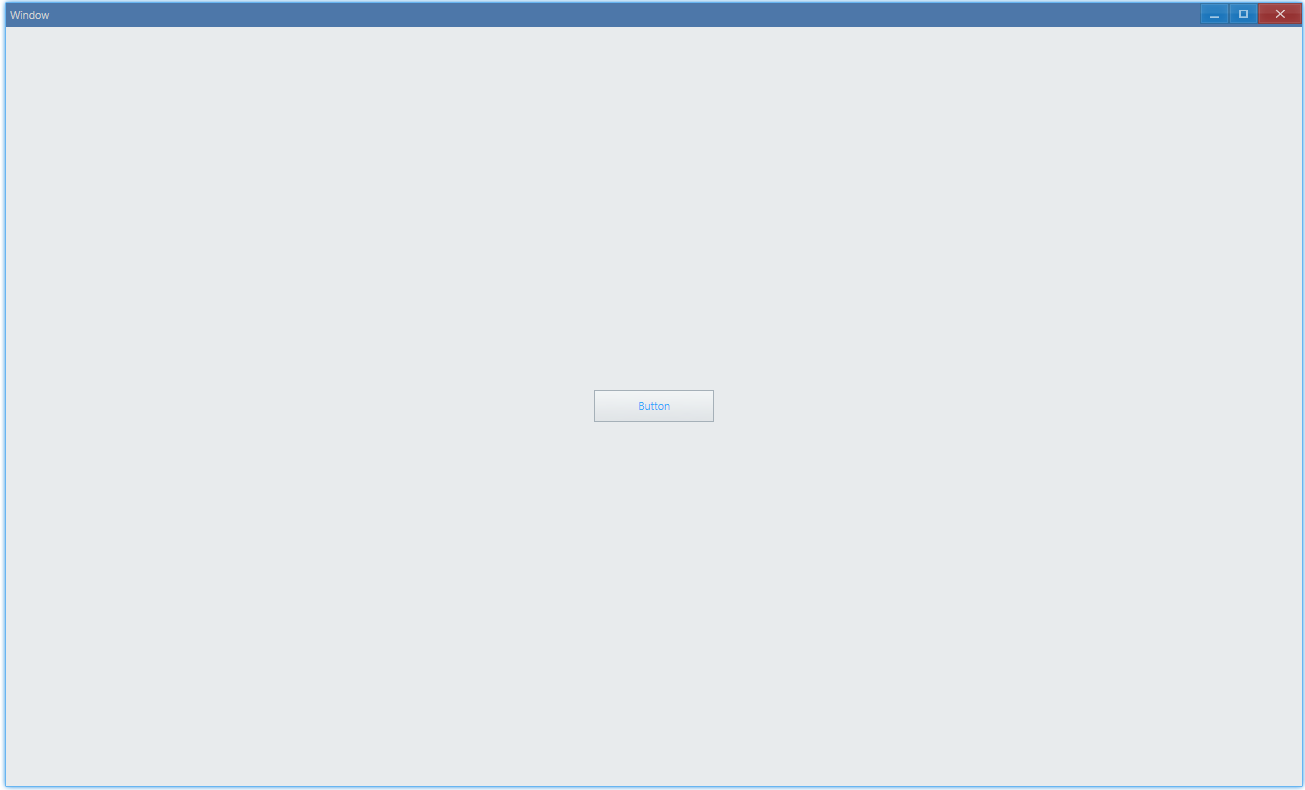
export function App() { return ( <Window> <DemoLayout> <Button text="Button" style={{ color: new Vec4(0, 146, 255, 255 * 0.75) }} ></Button> </DemoLayout> </Window> );}运行之后:

API#
export interface IButtonComponentProps extends IComponentProps {  style?: IButtonStyle;  ...}
export interface IButtonStyle extends IComponentStyle { color?: Vec4; ...}外观样式#
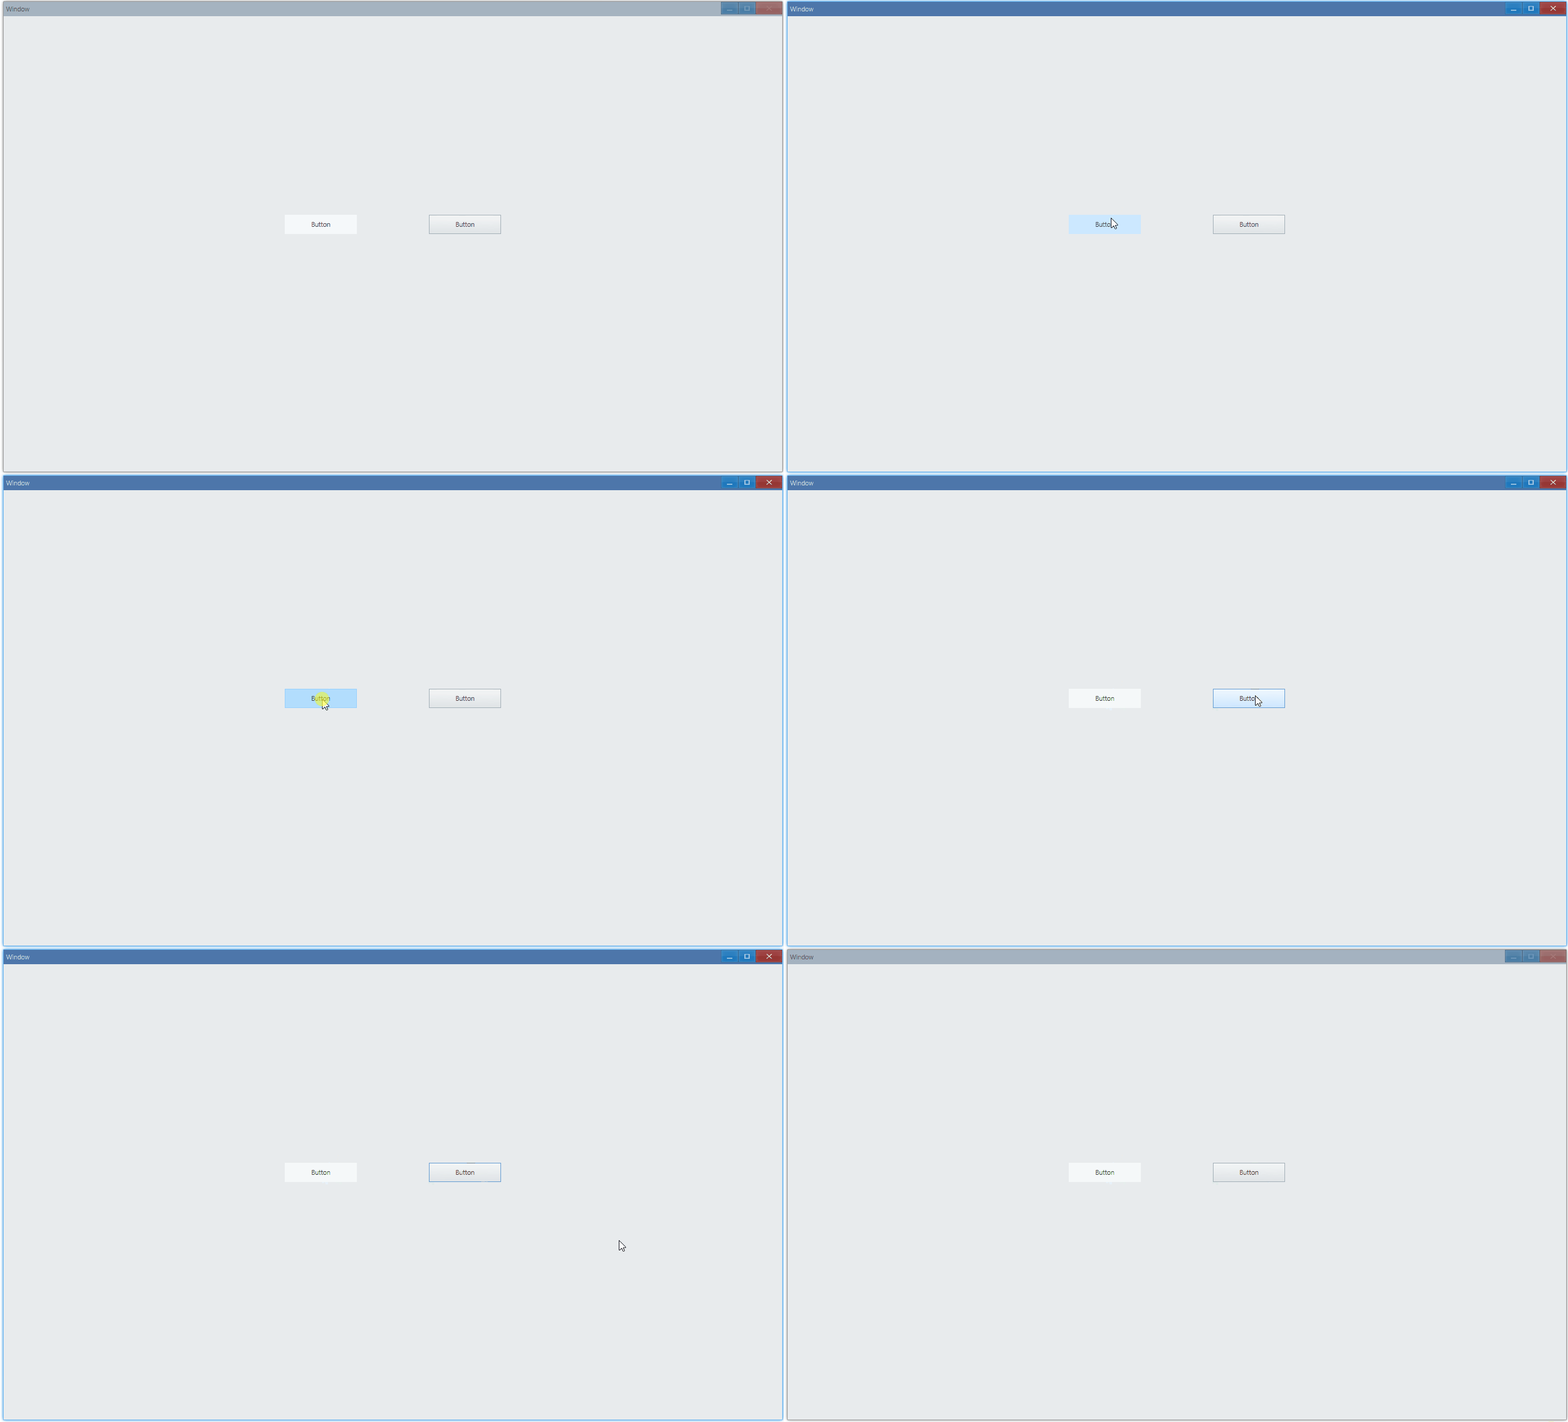
export function App() { return ( <Window> <DemoLayout> <Button text="Button" style={{ visualStyle: ButtonStyle.Command }} ></Button> <Button text="Button" style={{ visualStyle: ButtonStyle.Push }} ></Button> </DemoLayout> </Window> );}这两种样式在功能上没有任何区别,只是外观上看起来不同。push 的意思是说这个按钮是有按下弹起的样式(比较有层次感那种),command 就是有点类似超链接那种的样式。以下是点击的效果:

API#
export interface IButtonStyle extends IComponentStyle {  visualStyle?: ButtonStyle;  ...}
export enum ButtonStyle { Push, Command,}点击事件#
export function App() {    const [text, setText] = useState('Button');
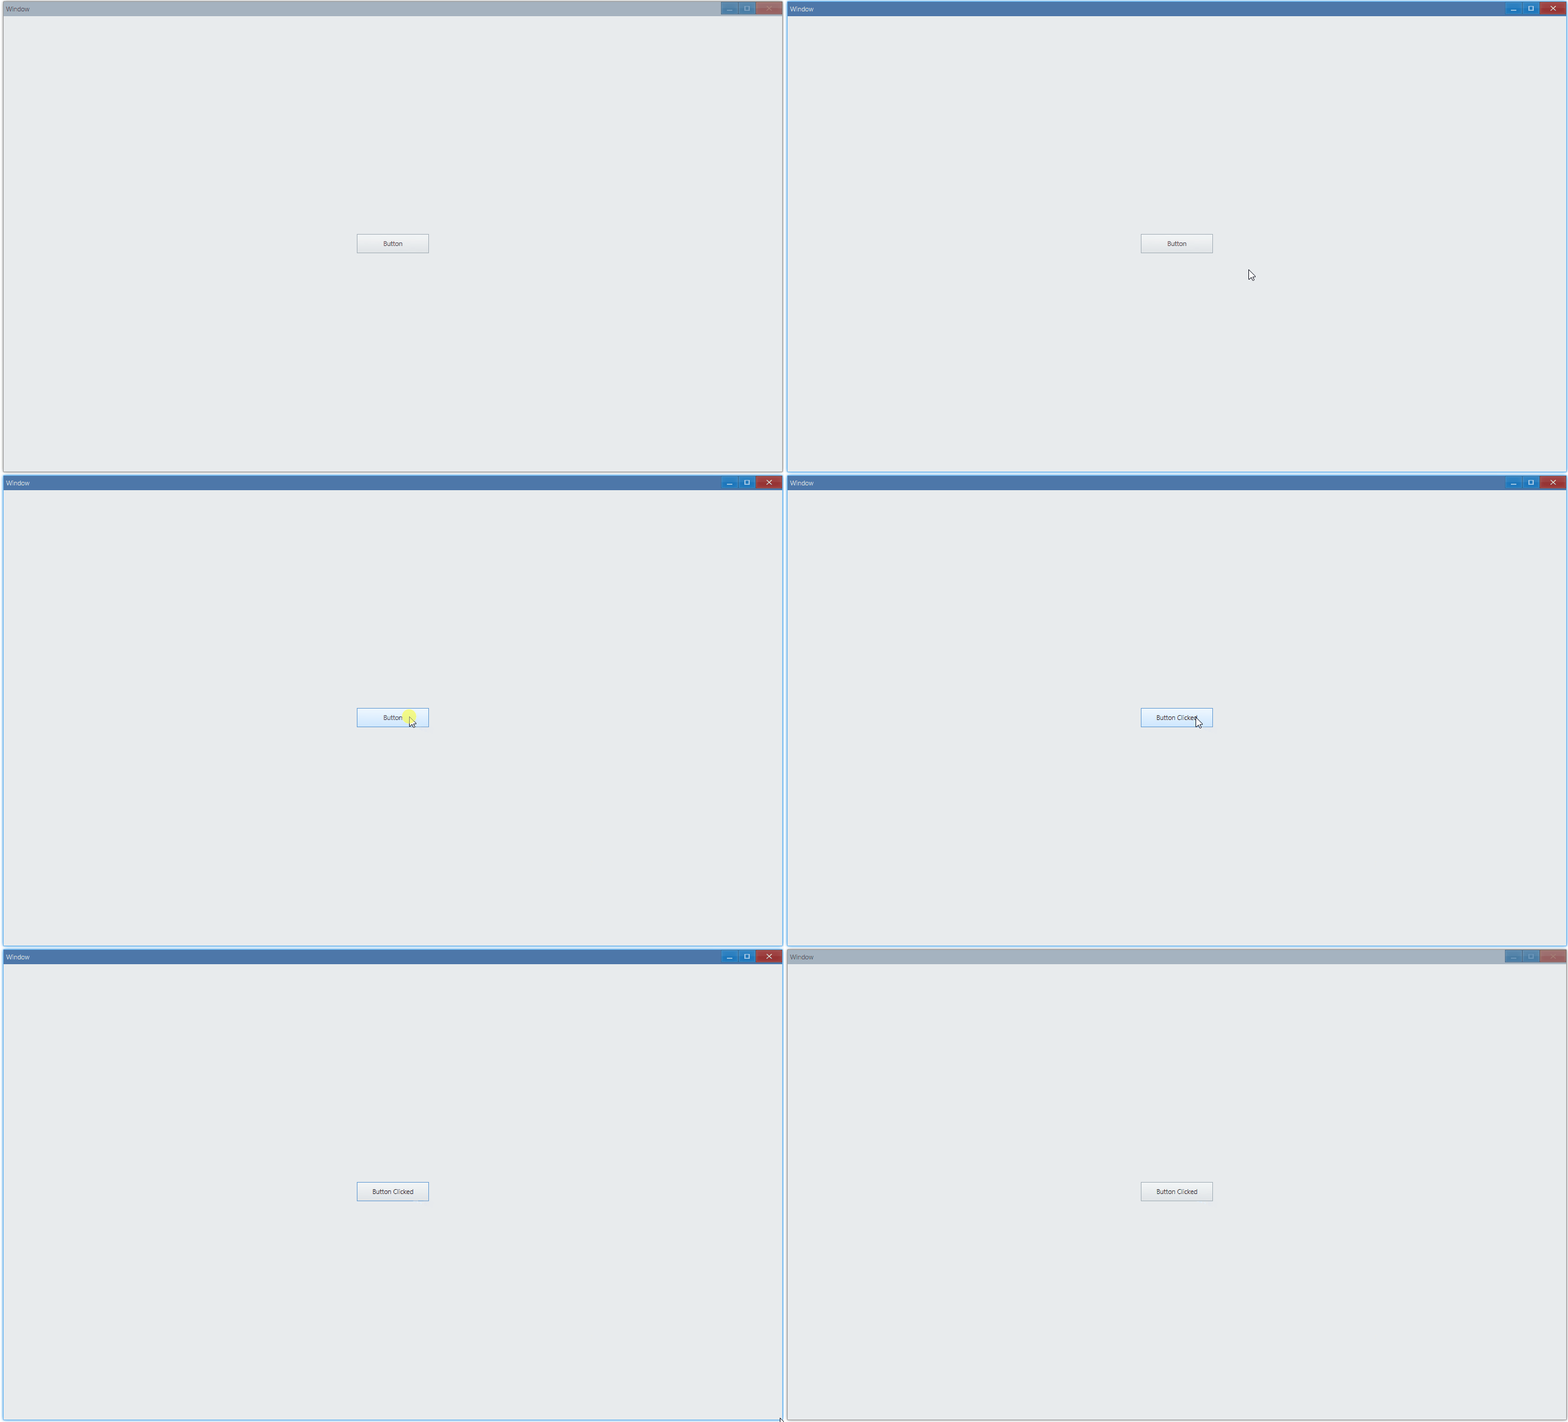
return ( <Window> <DemoLayout> <Button text={text} onClick={() => setText('Button Clicked')} ></Button> </DemoLayout> </Window> );}以下演示点击按钮之后修改按钮上的文案:

API#
export interface IButtonComponentProps extends IComponentProps { onClick?: Parameters<IButton["OnClick"]>[0];}设置图标#
import { iconResource } from './icon-resource';
function onInit(app: App) {    const context = getAppContext();    context.setIconResource(iconResource as unknown as IIconResource);}
export function App() { return ( <Window onInit={onInit}> <DemoLayout> <Button text="Open" iconInfo={{ name: 'open-file', size: 16 }} ></Button> </DemoLayout> </Window> );}icon-resource.ts
const iconResource = {    size: [16],    path: {        'open-file': [assetsPath('open-file#0.png')],    },} as const;
export { iconResource };
export type IconResourceMapType = Record< keyof typeof iconResource.path, number>;可以在文字旁边设置一个图标:
![]()
API#
export interface IButtonComponentProps extends IComponentProps { iconInfo?: { name: string; size?: number; }; ...}